The ancient coast redwoods of Muir Woods present both real opportunities and unique challenges for photographers. This guide will help you capture the forest well.
The Challenges of Photographing Redwoods
Before diving into tips, understand why redwood photography is tricky:
- Scale: Trees reaching 258 feet are hard to capture in a single frame.
- Low light: The dense canopy creates deep shade.
- High contrast: Bright sky patches against dark forest floor.
- Crowds: Other visitors in your shots, especially on trails.
Best Times for Photography
Golden Hour
Early morning and late afternoon light creates warm tones and dramatic shadows. In summer, aim for 7 to 9 AM or 5 to 7 PM.
Foggy Mornings
Fog transforms Muir Woods. Light rays pierce through the canopy creating “god beams.” Check weather forecasts for foggy conditions.
Fog transforms Muir Woods. Light rays pierce through the canopy creating “god beams.”
After Rain
Wet bark appears darker and more textured. Ferns glisten. The forest smells amazing (even if you can’t photograph that).
Overcast Days
Cloud cover acts as a giant softbox, reducing harsh shadows. Ideal for capturing detail in bark and foliage.
Essential Camera Settings
For Sharp Forest Scenes
- Aperture: f/8 to f/11 for maximum sharpness
- ISO: 800 to 3200 (modern cameras handle this well)
- Shutter speed: At least 1/60s handheld, slower with tripod
For Dreamy Fog Shots
- Aperture: f/4 to f/5.6 to isolate light rays
- Slight overexposure: +0.5 to +1 EV to brighten fog
For Detail Shots
- Aperture: f/2.8 to f/4 for shallow depth of field
- Focus: Manual focus for precise control on bark textures
Composition Tips
Convey Scale
Include a person (with permission) or the boardwalk to show how massive the trees are. A tiny figure among the trees tells a powerful story.
Look Up
The classic redwood shot is looking straight up at converging trunks. Use a wide-angle lens and lie on your back for the best angle.
Find the Light
Watch for shafts of light breaking through the canopy. Position yourself so light creates depth and drama.
Embrace Negative Space
Let the massive trunks dominate the frame. Empty space emphasizes their size.
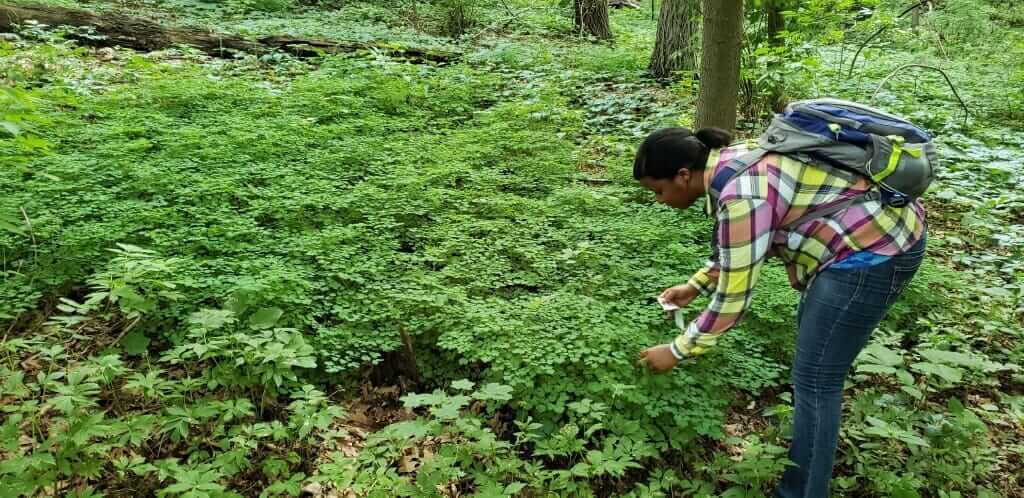
Focus on Details
Ferns, sorrel, banana slugs, bark patterns. Don’t just shoot the big picture. The details tell the forest’s story too.
Use the Creek
Redwood Creek provides reflection opportunities and leading lines. Long exposures can create silky water effects.
Recommended Gear
Lenses
- Wide-angle (16 to 35mm): Essential for capturing tree height
- Standard zoom (24 to 70mm): Versatile for various compositions
- Macro or close-focus: For ferns, banana slugs, bark detail
Tripod
Low light conditions often require slow shutter speeds. A sturdy tripod is highly recommended, especially for early morning or foggy conditions.
Filters
- Circular polarizer: Reduces glare on wet leaves, deepens colors
- Graduated ND filter: Balances bright sky with dark forest
Other Essentials
- Extra batteries (cold mornings drain them faster)
- Lens cloth (fog and mist cause condensation)
- Rain cover for camera (if shooting in wet conditions)
Best Photo Spots in Muir Woods
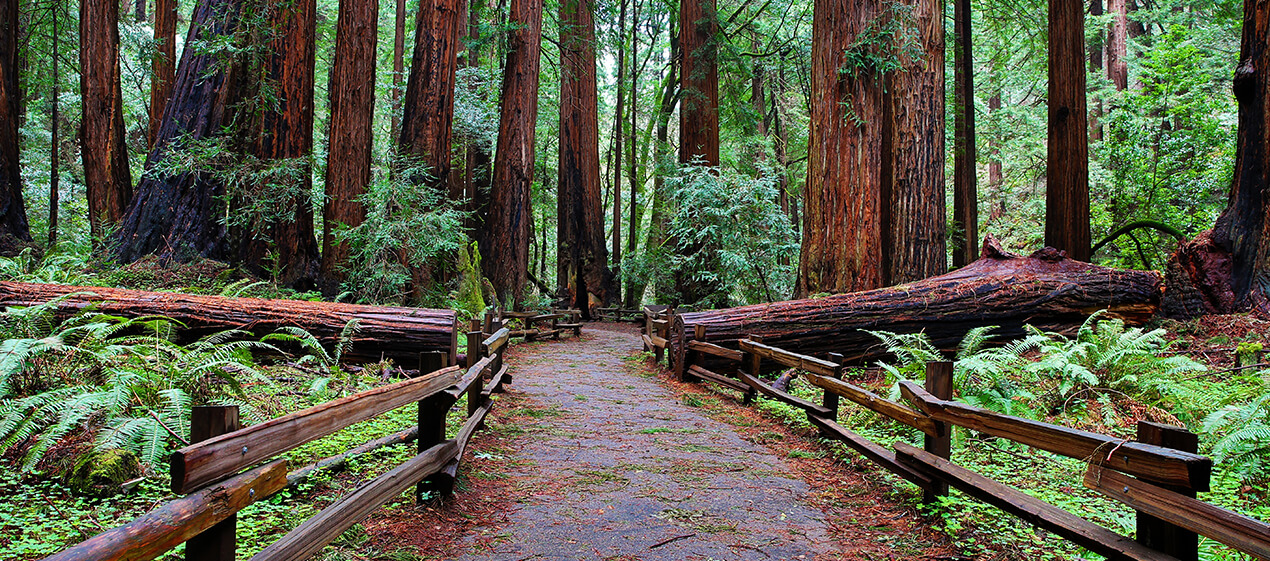
Cathedral Grove
The most photographed area for good reason. The tallest trees and most impressive concentration of old growth. Can be crowded. Arrive early.
Bohemian Grove
Slightly less crowded than Cathedral Grove with equally impressive trees.
Redwood Creek Bridges
Multiple footbridges offer opportunities for creek reflections with redwoods overhead.
Fern Creek Trail
Beyond the main loop, fewer visitors and beautiful fern-lined paths. Good for intimate forest scenes.
Hillside Trail
Elevated perspectives looking down into the forest. Different angle than most visitors capture.
Smartphone Photography Tips
Don’t have a dedicated camera? Modern smartphones can capture impressive redwood photos:
- Use HDR mode to handle high contrast
- Tap to focus and expose for your subject
- Keep the lens clean (forest moisture causes smudges)
- Use portrait mode for detail shots with blur
- Shoot in RAW if your phone supports it
- Use the ultra-wide camera for looking-up shots
Etiquette and Rules
- Stay on trails: Trampling damages shallow redwood roots.
- No drones: Drones are prohibited anywhere in the National Park System. Commercial photography or filming requires a special-use permit from NPS.
- No tripods on boardwalks during peak hours: Be considerate of other visitors.
- Ask before photographing others: Especially children.
- Don’t climb trees: Damages bark and is dangerous.
Post-Processing Tips
- Lift shadows to reveal detail in dark areas
- Add slight warmth for golden hour shots
- Increase clarity to enhance bark texture
- Careful with saturation. Redwood bark isn’t actually red.
- Consider black and white for dramatic fog shots
Final Thoughts
The best camera is the one you have with you. Don’t get so focused on capturing the perfect shot that you forget to simply experience these ancient trees. Sometimes the best memory is the one you hold in your mind, not your camera.
Happy shooting.